Walnut-shaped cookies filled with cocoa cream
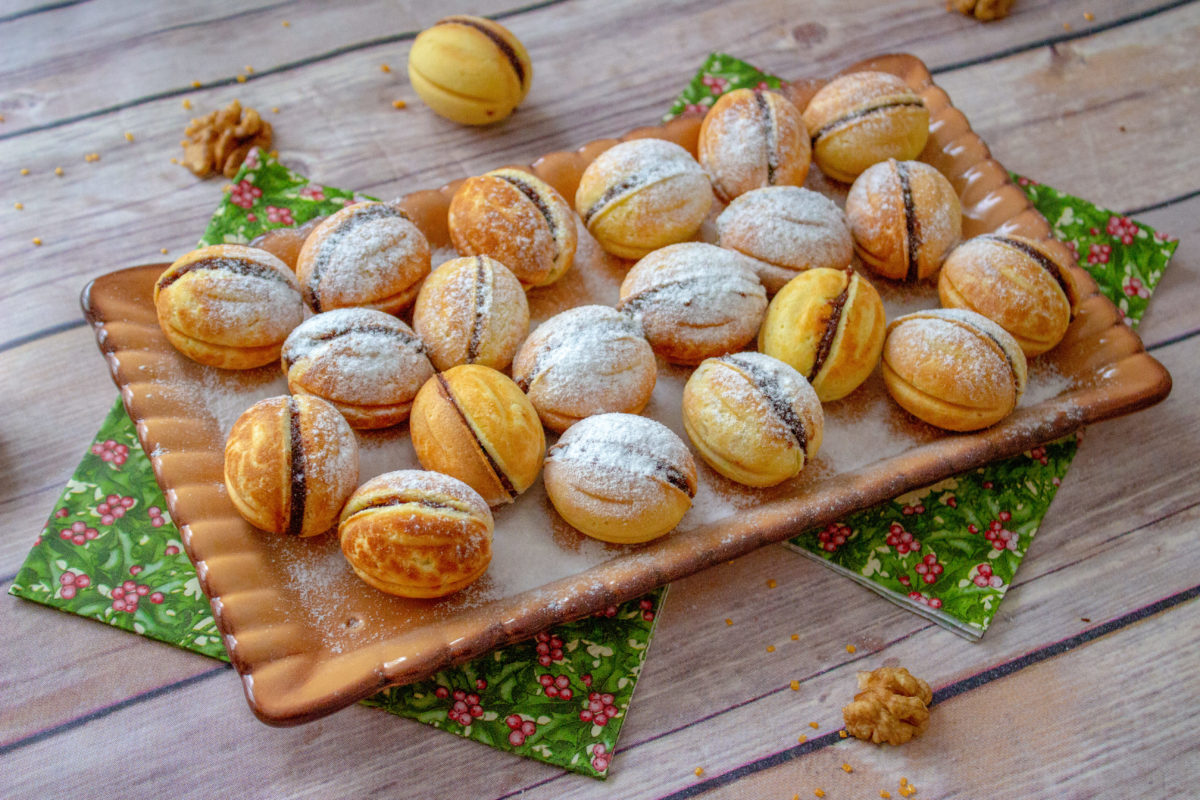
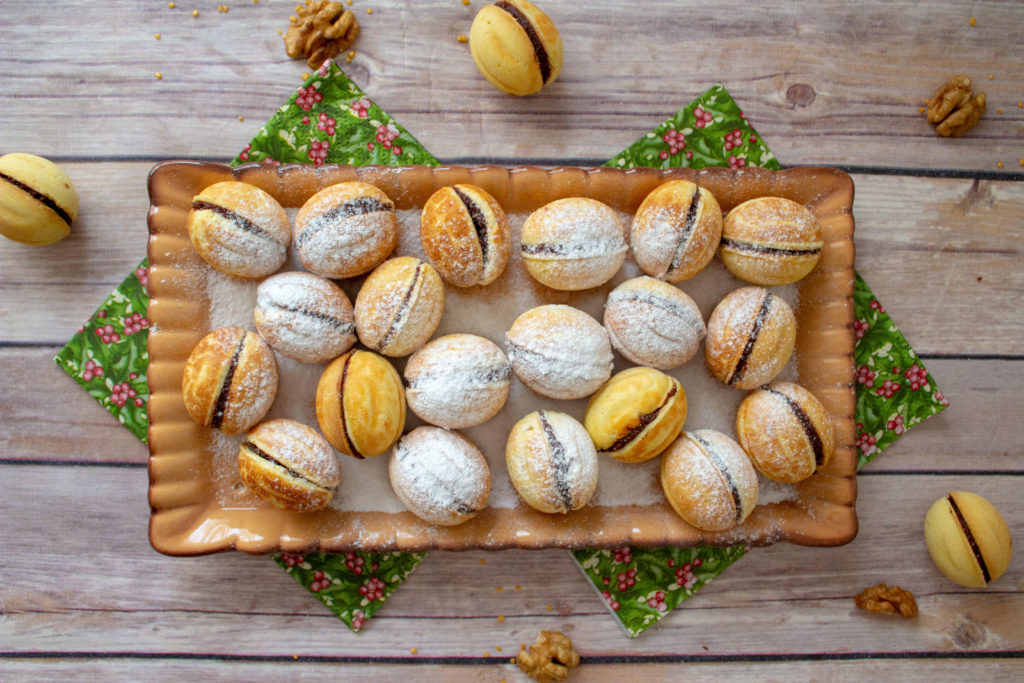
There’s something about cookies filled with cream that we all love, right? What’s not to love? These walnut-shaped cookies are a dessert that we prefer to make during the holiday season, for Easter or Christmas… that’s because it requires a bit of time and patience to make them.
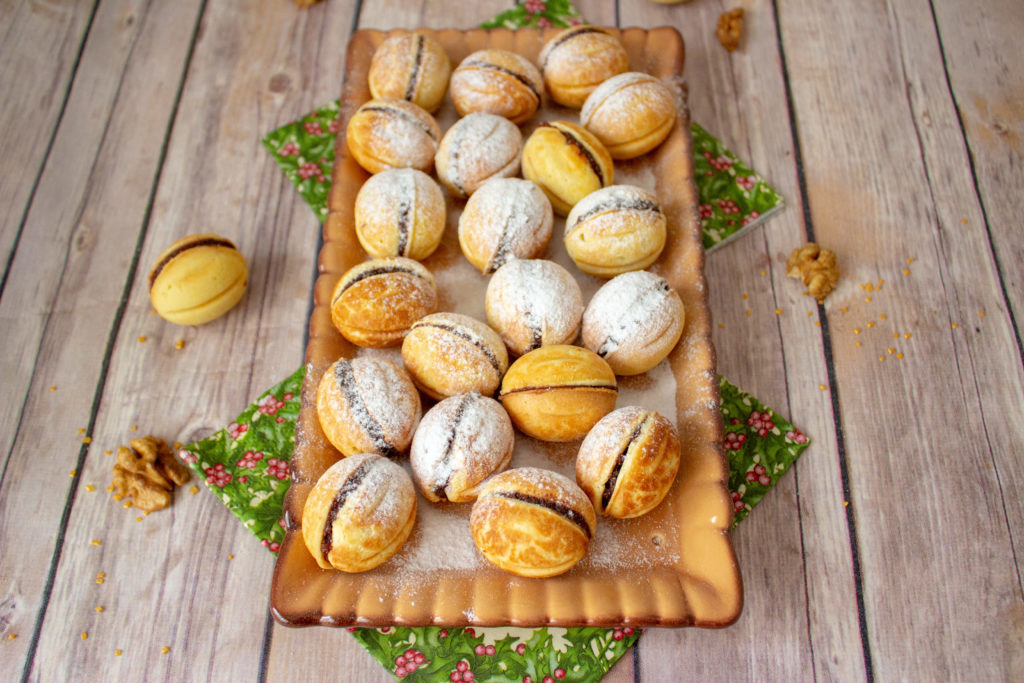
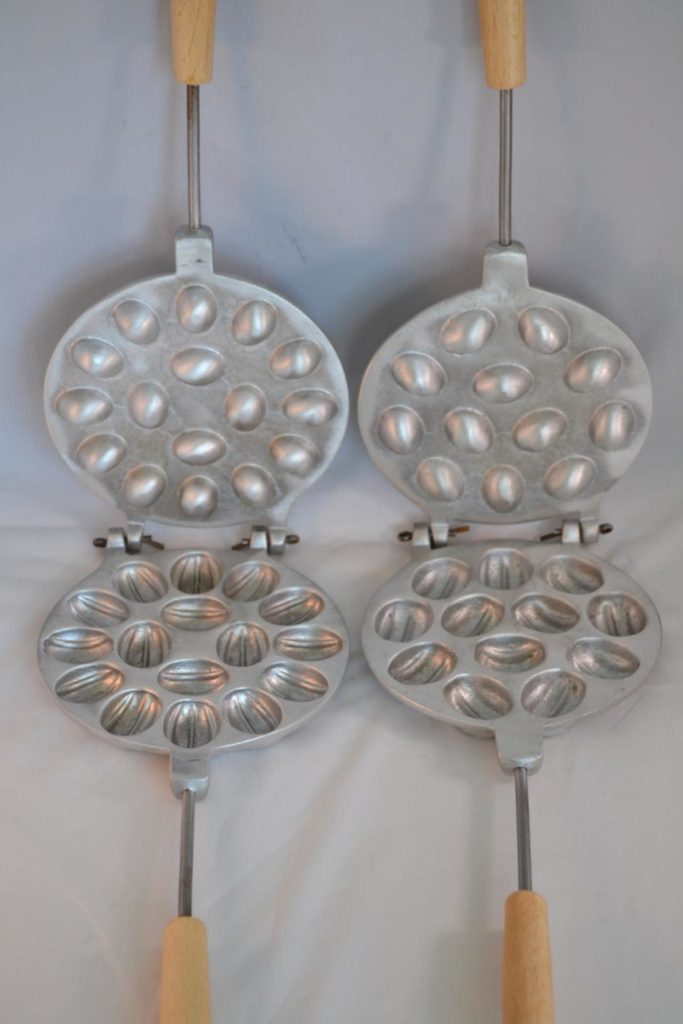
These cookies, which are actually shaped like real walnuts, must be prepared with a special cookie mold. I know that these cookies were originally prepared in Russia, so you could have a chance to get it at a Russian food shop or online by searching for walnut-shaped cookie mould (not my personal photo – found this one on Ebay).
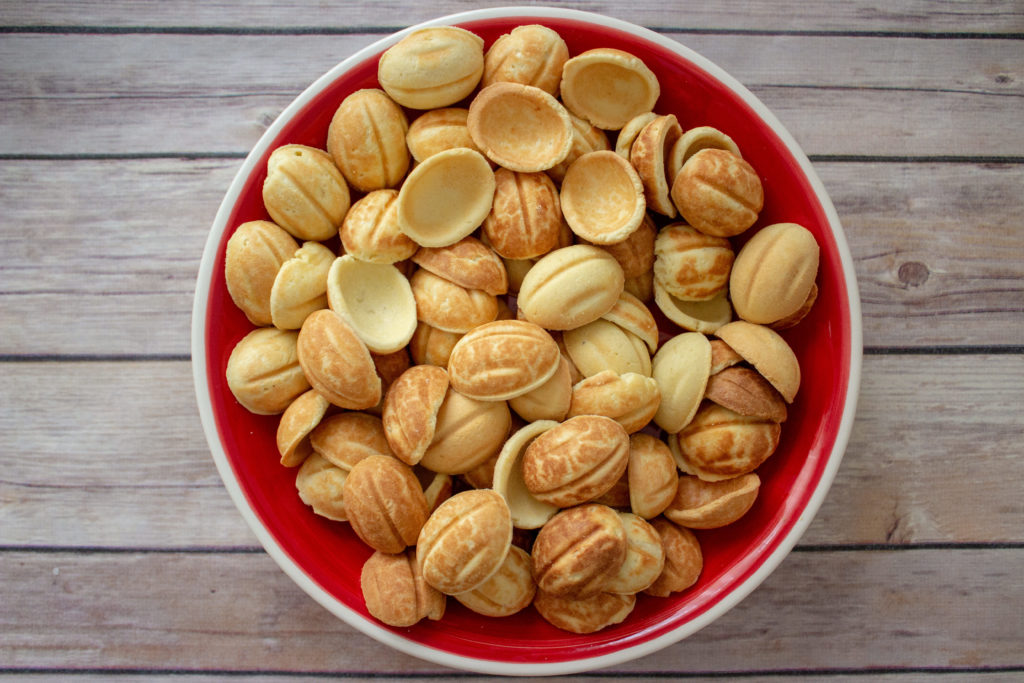
The cookie “shells” are not soft and cakey, they’re really firm once you bake them. After filling them with cream, it’s best to let them sit in an air-tight container for at least one day, so the cookie shells get a chance to absorb the moisture and to become softer. This is a good reason to prepare the cookies a few days before serving them.
Now, the cream. The cream is a heavenly mixture between simple ingredients: cookie shell trimmings, walnuts, cocoa, sugar, milk, butter and a bit of rum essence. The cookie trimmings give the filling an interesting texture and keeps it firm enough to not drip excessively from the cookies once you fill them.
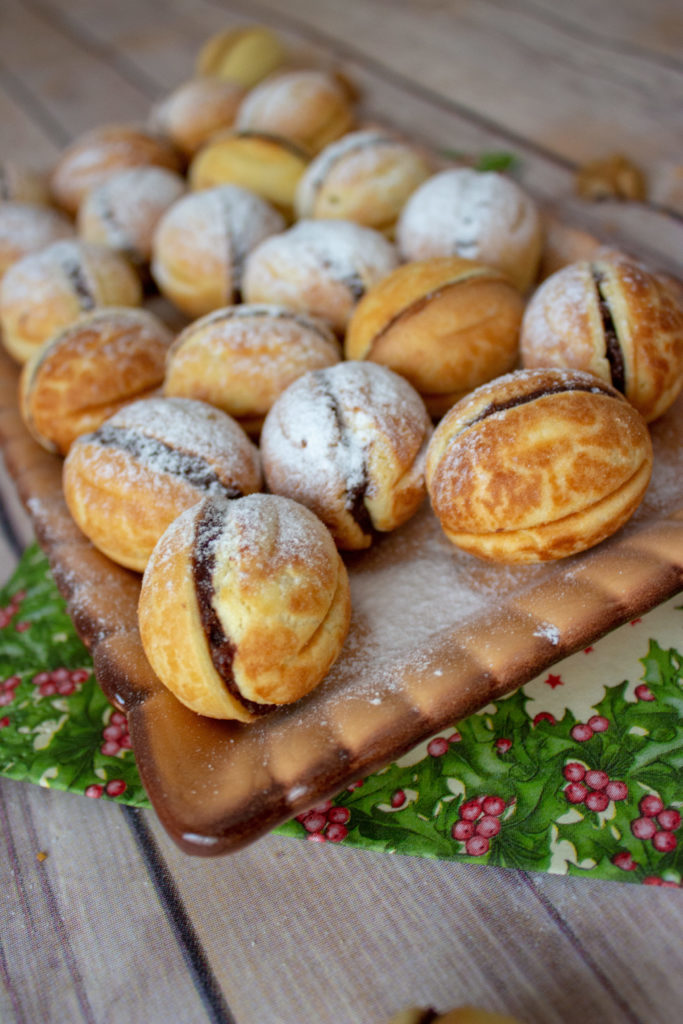
Here’s how to make these wonderful, walnut-shaped cookies.
Ingredients
For the shells
600 g flour
10 g baking powder
250 g butter at room temperature
100 g powdered (icing) sugar
4 eggs
For the cream
Cookie trimmings that remain after baking the cookie shells
200 g butter at room temperature
200 g sugar
2 tablespoons cocoa
200 g shredded walnuts
A bit of rum essence/aroma
Extra powdered sugar for dusting the cookies
Directions
For the shells
- Start by mixing the softened butter (at room temperature) with the powdered sugar for 2-3 minutes.
- Add the eggs, one by one, mixing after each one until it’s fully incorporated.
- Add the salt and baking powder to the flour and add one tablespoon at a time to the wet ingredients. Keep buy synthroid canada adding flour until you get a soft dough.
- Place the dough on a working surface and knead it until it’s smooth.
- Start forming small dough balls using your hands. Use a kitchen scale to weigh the dough balls. Each one should weigh approximately 5 grams.
- Preheat the cookie mold directly on your stove. Brush it with a bit of oil for the first time, to keep the dough balls from sticking to it. Add one dough ball in each hollowed-out hole of one plate of the cookie mold. The dough should cover only about 1/3 of each hole. Press the other plate on top and place the mold on the stove over medium heat. Press the handles and cook the dough for about 2 minutes, checking them after 1 minute. The outside of the shells should be golden when they’re done. I used a knife to easily transfer the cookie shells to a cooling rack.
- Proceed baking the remaining dough until it’s all used up. Let the cookie shells cool completely before filling them.
- With a small knife, gently remove the excess edges of the shells, making sure you don’t crack them – they tend to be really fragile.
For the cream
- Mix the butter with the sugar until it’s creamy.
- Mix in the cocoa and the rum essence.
- Add the nuts, the cookie trimmings and incorporate them by using a spatula.
- Fill each shell with cream and seal two shells by bringing them together. A bit of cream will drip around the edges. If you wish, remove the excess using your finger.
- You can dust powdered sugar over the walnut cookies.
- That’s it! You can store the cookies in an airtight container for up to 7 days, in a cool room or in the fridge.
Enjoy!!!





-0 Comment-